
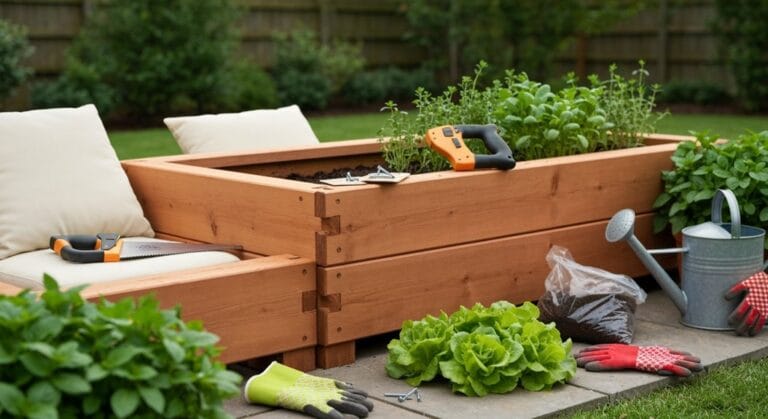

If you’re dreaming of harvesting sun-ripened tomatoes or crisp lettuce right outside your door, building your own how to build a raised planter box that lasts is one of the most rewarding garden projects you can tackle. But whether you’re an urban grower or just leveling up your backyard setup, the details truly matter.
We aren’t just talking about throwing some boards together. We’re talking about constructing structures that will stand strong against the elements, the crushing weight of soil, and the slow march of time. After all, a planter box that succumbs to decay in just two seasons isn’t very sustainable, is it?
This guide dives deep into the specific materials, fasteners, and foundational techniques that separate a temporary structure from a truly long-lasting garden asset. Ready to dig in and learn how to build a raised planter box that lasts?
The Essential Checklist: Raised Planter Box Materials Guide for Longevity
When maximizing lifespan, your initial material selection truly makes or breaks the whole endeavor. You need components that fiercely resist decay, constant moisture exposure, and the immense outward stress from heavy, damp soil.
When it comes to lumber, you must select woods known for being naturally rot resistant wood for raised planters. My top recommendation remains cedar or redwood. These superb options contain natural oils that serve as built-in pest and decay deterrents, leading to far less maintenance for you down the line.
If your budget allows and you can source it, black locust wood is the absolute king—it offers maximum longevity. On the other hand, budget buys like standard Douglas fir will certainly work, but go in knowing they demand more diligent sealing and checking over the years to keep them happy.
- Top Tier: Black Locust (Expect 20+ years of faithful service).
- Excellent Choice: Cedar or Redwood (Fantastic balance of good looks and strong rot resistance).
- Budget Option: Pine or Fir (Requires excellent exterior sealant and more frequent inspection).
Beyond the species, look for thicker lumber—ideally 2-inch nominal thickness or more—with a tight grain pattern. This added structural density greatly resists warping when wet and significantly extends the life of your raised garden bed project.
What Screws to Use in Cedar Raised Beds: Best Fasteners for Raised Garden Beds
Here’s a secret spot where many well-intentioned DIY builds stumble: using cheap metal fasteners. Standard steel screws corrode surprisingly fast when constantly exposed to moisture and the natural acidity of soil, leading to frustrating structural failure.
For the absolute best performance, stainless steel screws are the gold standard; they are virtually impervious to rust. If stainless steel puts too much strain on the budget, pivot to hot‑dipped galvanized screws. These offer excellent corrosion resistance at a much more approachable price point.
Let’s touch quickly on treated wood. Unless you are using modern ACQ or MCA treated lumber specifically rated safe for growing edibles, or you’ve devised a way that the wood treatment won’t ever touch the soil, it’s generally safer for home growers to skip pressure-treated lumber near food.
If you need maximum lifespan, focus on rot resistance: Cedar or Redwood are excellent, while Black Locust lasts longest. Remember the fasteners, too—don’t cheap out on screws!
Tools and Preparation for Your Raised Planter Box Plan
Having the right implements ready ensures your raised planter box plan comes together smoothly, rather than turning into a frustrating afternoon project. You don’t need a full industrial workshop, but precision really matters when dealing with lumber measurements and square corners.
For assembly, you’ll need the basics: a reliable drill/driver, a good measuring tape, and some clamps to hold things steady. A miter saw makes extremely clean, fast cuts, but a decent circular saw will get the job done if you take your time. Always prioritize your safety gear—goggles and a decent dust mask are non-negotiable when cutting any wood product.
- Cutting: Miter saw or circular saw.
- Assembly: Power drill/driver (an impact driver makes driving those long screws much easier).
- Accuracy Checks: Speed square and reliable clamps.
- Safety First: Always wear safety glasses, hearing protection, and a dust mask.
Before we even touch a saw, let’s remember the golden rule for DIY construction. Always measure twice, cut once. This simple mantra saves expensive wood, prevents time-wasting rework, and keeps frustration levels low!
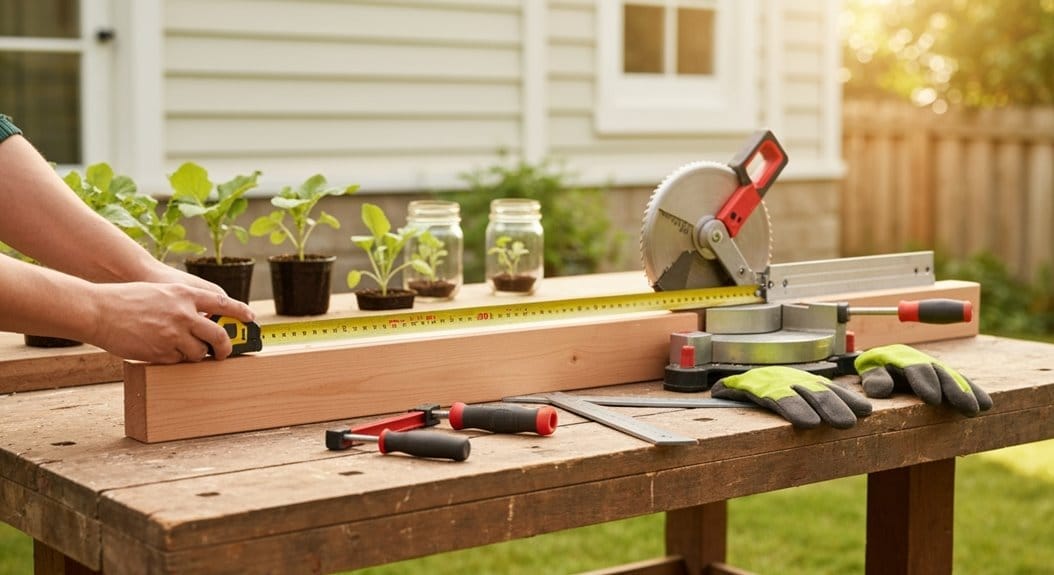
Once all your boards are precisely cut to length, running a quick pass with 80-grit sandpaper over all the exposed edges does wonders. Smoothing those fresh cuts prevents nasty splinters during the final assembly stage and helps any exterior sealant or oil soak in much more evenly.
Step-by-Step Assembly: Building Strong Corners for Heavy Loads
Assembly is the stage where all that careful measurement turns into a functional reality. The absolute priority here is structural integrity, especially at the corners where the pressure from saturated soil will be highest.
I always recommend building the two long sides first. Use sturdy clamps to hold your corner posts (if you are using 4x4s or robust framing lumber for support) perfectly flush with the edges of your long sidewalls. Drive your corrosion-resistant screws through the side boards and directly into these support posts to create two strong, rigid sub-assemblies.
Once you have your two long frames and two short frames ready, it’s time to join them into the final box shape. For building strong raised garden beds that absolutely won’t rack or bow, favor heavy-duty structural bolts at the main corners rather than relying solely on screws. This bolts-and-post method offers unparalleled resistance to the constant lateral force exerted by wet earth.
- Corner Strength: Always use structural through-bolts where the long and short sides join, not just screws.
- Drainage Spacing: If stacking boards, maintain about a ½-inch gap between them for crucial drainage and critical airflow circulation.
- Alignment Check: Use that speed square constantly! A box that is slightly skewed when empty will be frustratingly noticeable when full.
How to Waterproof a Raised Planter Box and Ensure Perfect Drainage
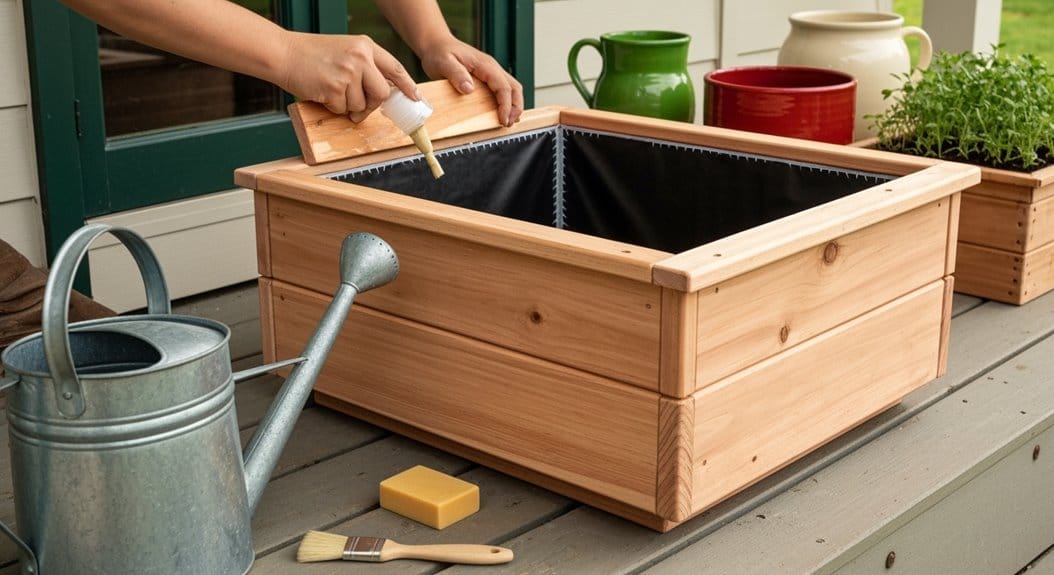
Even the best rot-resistant wood will eventually soften under constant moisture saturation. This is precisely where techniques like using HDPE liner in raised planter box guide and applying intelligent seals become essential for achieving maximum service life.
When lining the interior, you want a tough, dependable, non-toxic plastic. The best choice is usually a 30–100 mil HDPE liner (High-Density Polyethylene). This material is exceedingly tough, highly resistant to soil chemicals, and perfectly safe for growing edibles.
The most critical part of this process is water management. After lining the interior walls, you must incorporate ample drainage holes in the bottom of the structure (or strategically cut holes in the liner itself). You need easy pathways for water to exit so the soil doesn’t become boggy or stagnant.
How to Waterproof a Raised Planter Box Exterior
For the wood facing the sun and rain, focus on UV protection and gentle moisture repellency. A natural exterior finish, like pure tung oil or linseed oil sealant, penetrates the grain nicely, enhancing the wood’s natural beauty while providing a rudimentary moisture shield.
If you need more aggressive protection or desire a color change, choose an exterior stain or paint that is explicitly formulated to handle harsh, fluctuating weather conditions. Always remember to properly prep the wood—clean it thoroughly, let it dry completely, and lightly sand the surface before applying any protective finish.
Optimizing Drainage and Venting for Success Beneath the Soil
The interior liner prevents the wood from rotting, but proper drainage holes protect your valuable plant roots from drowning. You want water to escape quickly, so drill numerous half-inch holes distributed across the entire base area; avoid clustering them all just around the edges.
To keep that rich soil from washing right out through those openings, I suggest covering each hole opening with a small bit of rigid metal hardware cloth or durable landscape fabric before you begin filling. Better yet, create a passive evacuation zone by adding a 2 to 4-inch layer of gravel or expanded clay aggregate at the very bottom. This base layer acts as a sponge and easy exit route for excess water.
Design Variations and Foundation Options
Not every raised planter box needs to sit flat on the lawn. Your ultimate design choice will heavily impact your ergonomics, site drainage, and the overall lifespan of the structure.
If you choose a bed that sits directly on the ground, you benefit from a slight moisture advantage via contact with native soil. However, building a true raised structure allows you to perfectly control the high-quality soil mix, eliminates digging trenches to bypass weed barriers, and saves your back from constant bending!
- Ground Level: Better moisture retention; success heavily relies on the quality of your underlying native soil.
- Raised (12–24″ High): The sweet spot for most vegetables; offers total control over drainage and speeds up soil warming in spring.
Ergonomic Height: Legs and Feet Options for Planters
If you decide to build an elevated planter—perhaps for easy access to kitchen herbs or for gardening while seated—the sturdiness of the supporting legs is absolutely paramount. A wooden box filled with saturated soil can easily weigh close to 500 pounds!
For comfortable height (often 24 to 36 inches off the ground), ensure you use substantially sized vertical supports like 4x4s, ideally constructed from the same rot-resistant wood or well-sealed pressure-treated lumber.
Crucially, look at what touches the ground. To prevent your wooden support legs from sitting in perpetually damp spots and effectively wicking moisture straight up into the frame (a major rot trigger!), place the bottom ends onto concrete pavers or patio stones. Elevating the wood even an inch above direct contact with sod or concrete is key to longevity.
Considering Cinder Block Foundations for Large Planters
For truly massive or industrial-sized planting boxes, sitting directly on the ground might not offer the necessary stability. Utilizing a cinder block foundation for large planters can provide incredible, unwavering stability, especially if your site isn’t perfectly flat.
Start by carefully leveling the strip of ground where the blocks will rest, which might involve compacting the soil heavily or digging a shallow trench. Set the first course of blocks perfectly level, then consider staggering the next course above them for maximum load-bearing strength, much like building the base layer of a small retaining wall.
Budgeting Your Build and Lifespan Expectations
While focusing on longevity means a higher initial sticker price, it’s helpful to visualize where that investment goes compared to the cheapest route. Here is a sketch comparing component costs that affect the final build:
| Component | Budget Impact (Low to High) | Longevity Notes |
|---|---|---|
| Lumber (Untreated Pine/Fir) | $ | Will require frequent exterior resealing every 1-2 years. |
| Lumber (Cedar/Redwood) | $$ | Natural resistance significantly lowers reliance on frequent sealant costs. |
| Fasteners (Galvanized) | $ | A solid, cost-effective core choice for most non-coastal areas. |
| Fasteners (Stainless Steel) | $$$ | Highest initial cost, but virtually guarantees no screw-related failure. |
| HDPE Liner | $ | Relatively inexpensive insurance policy extending ground-contact wood life exponentially. |
So, how long will your beautiful, well-built raised garden beds last? Honestly, it depends almost entirely on your wood selection and your follow-through on basic upkeep.
Cedar or Redwood boxes, assembled correctly using galvanized or stainless fasteners and lined internally, can comfortably give you 10 to 15 years of service. If you invest in Black Locust, you could easily be looking at 20+ years, assuming the base isn’t sitting in standing water.
Maintenance is simple but vital: Inspect that interior liner annually, especially near the top edges where wear and tear are highest. On the exterior, re-apply a thin coat of your chosen exterior sealant (oil or stain) every two to four years, depending on how harsh your exposure is. This one simple waterproofing step keeps the wood looking fantastic and cements its long service life.
Frequently Asked Questions on Building for Durability
What soil mix works best for different plants in long-lasting planter boxes?
Your soil mix selection should always cater to what you are growing. For heavy feeders like tomatoes and squash, you need a loose texture packed with organic matter and high nutrient content. Herbs generally prefer a lighter, fluffier mix with only moderate organic enrichment. Flowers can thrive beautifully in the middle ground with a well-balanced texture enriched with quality compost.
How do I prevent rodents and other pests from accessing roots through the bottom?
The best proactive defense involves installing hardware cloth—that’s a sturdy, small-gauge wire mesh—across the entire bottom of the empty box before you pour in any filler materials. You want to secure this mesh tightly to the bottom edges of the lumber frame, ensuring pests can’t burrow underneath or chew their way in from below.
What’s the estimated weight when the planter is fully filled with soil and plants?
Soil is incredibly dense when wet. Expect standard garden soil to weigh somewhere in the range of 40 to 50 pounds per cubic foot. A common size, like a 2-foot by 4-foot box that is 1 foot deep (which holds 8 cubic feet total), could easily surpass 320 to 400 pounds once it’s completely saturated, not even counting the weight of your fully grown plants!
How often should I fertilize and water container-grown vegetables in these boxes?
Watering frequency depends entirely on the weather you’re having—in the peak heat of summer, you might genuinely need to water daily, always ensuring that water is draining freely out the bottom. For heavy-feeding, fruiting vegetables like peppers or tomatoes, plan on providing a balanced vegetable feed supplement every two weeks.
Conclusion: How to Build a Raised Planter Box That Lasts
Constructing a high-quality how to build a raised planter box that lasts really boils down to making smart material investments and paying close attention to structural details during assembly. By choosing rot resistant wood like cedar or redwood and ensuring you use reliable hot‑dipped galvanized screws or stainless steel, you’ve already conquered the biggest hurdle.
Don’t forget those crucial finishing touches—interior lining, exterior sealing, and ensuring superb drainage and venting for raised planter boxes. These small steps guarantee you’ll have a thriving, reliable growing space that stands firm for many wonderful growing seasons to come. Happy building!


