
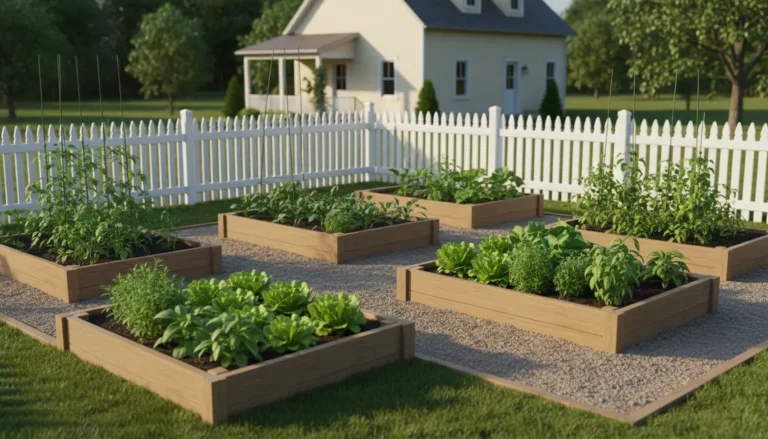

Ever feel like you’ve got a secret, magic zone in your yard where the roses thrive while everything else struggles? That’s not magic—that’s a site microclimate talking! These are small, hyper-local spots where the temperature, moisture, and wind patterns behave differently than the main area around them.
The wonderful secret is that understanding and intentionally manipulating these zones is much easier than you might think. With just an afternoon of focused detective work, you can successfully map sun and wind across your property lines.
This simple exercise unlocks massive potential for much better gardening, more comfortable seating areas, and even noticeable energy savings around your home. Are you ready to become your property’s resident climate specialist? Let’s dive into how to observe your site, sketch out your findings, and learn exactly how to modify microclimates to suit your needs.
What Exactly Is a Site Microclimate and Why Does It Matter?
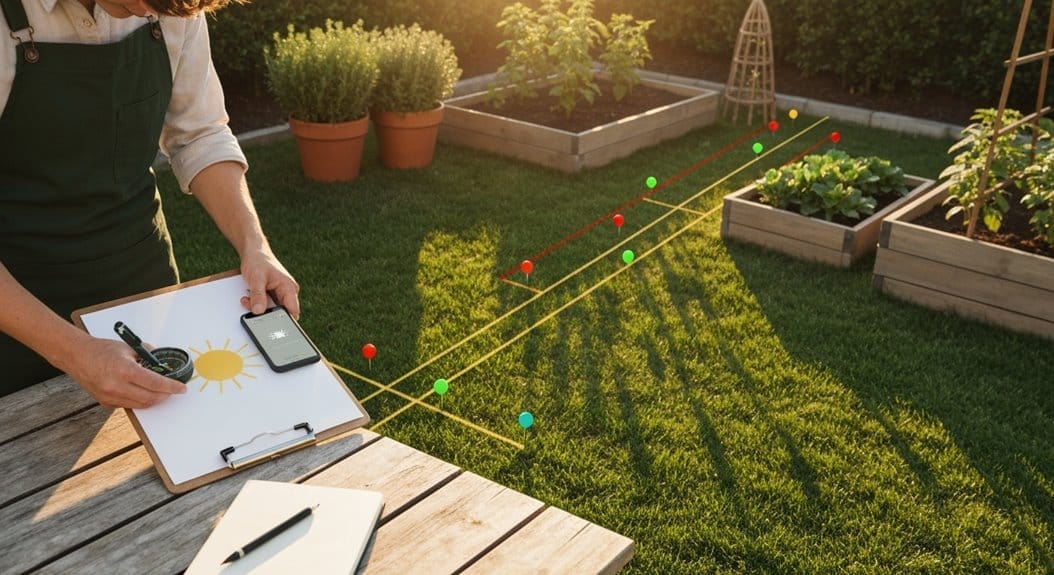
Ever noticed how one corner of your yard stays damp and lush while the next one over feels absolutely scorched, even in the height of summer? That difference in feeling and performance is exactly what defines a microclimate. It’s a localized climate pocket created by tiny, specific features on your property.
These pockets are shaped by dominant factors, most notably how long the sun hits a specific patch of ground or the constant directional flow of prevailing wind. When you successfully match the right plants to their preferred microclimate, you’ll find everything thrives with far less fuss.
This concept matters far beyond just gardening success, too. Thoughtfully designed microclimates can increase local biodiversity and even improve your home’s energy efficiency by managing heat retention or dissipation. This effect is often much more pronounced in areas with lots of hardscaping, like towns or cities, where materials create noticeable urban heat islands.
Factors That Shape Your Site’s Unique Climates
It’s fascinating how many subtle influences can turn a standard backyard into a collection of unique little worlds. Once you start actively looking, you’ll spot these influences everywhere.
First, consider the surface material. Think about dark asphalt absorbing intense heat all day versus light-colored gravel reflecting it away. Materials with high thermal mass—like thick stone walls or large concrete patios—are heat sponges; they store the daytime warmth and slowly release it after sunset, keeping adjacent areas warmer overnight.
Vegetation involvement is complex. Trees don’t just provide shade; through a process called transpiration, they actively cool the air around them. They also serve as excellent natural windbreaks, slowing down harsh gusts that dry out sensitive plants.
And never forget topography, or the shape of the land! A south-facing slope will capture significantly more solar energy than a north-facing one. This drastically dictates your local sun exposure hours and frost vulnerability. Even a simple building casts a massive, predictable shadow that directly alters the conditions immediately next to it.
How to Sun Mapping: Simple Steps to Track Light Accurately
Ready to become a solar detective? The core purpose of sun mapping is documenting precisely where the sun falls during critical times throughout the year. This documentation helps us understand the true light availability for every square foot.
You truly don’t need pricey or fancy gear to get started. You can check online tools like SunCalc to get estimates for solar path mapping for your latitude, or you can go totally analog with a camera, a notebook, and some patient observation. For the most precise methodology, specialized devices called Solar Path Finders are fantastic investments.
Here is the basic observational process: First, establish fixed reference points on your property—maybe a specific corner of the house or a very old, established tree. Then, check in during key daylight hours, perhaps 9 AM, noon, 3 PM, and 6 PM. Record exactly what you see in a journal.
The absolute crucial step is capturing the extremes of the year. You must perform these observations near the winter solstice (the shortest days) and near the summer solstice (the longest days). These two data points define the absolute boundaries of your site’s light conditions.
Using Sun Maps for Optimal Plant Placement and Structure Design
Once you have your map sketched out, you can move from simple observation into active, successful planning. This is where you match plant placement by light requirements directly to the zones you just identified. It shifts gardening from guesswork to precise design.
If your map shows an area receiving 7 or more hours of direct, unfiltered light during the summer months, that patch is tailor-made for sun-loving veggies like tomatoes or peppers. Areas getting 3–6 hours are usually ideal for part-sun dwellers, such as many herbs or leafy salad greens.
Where you place permanent structures is equally important. If you plan on building a new shed or a pergola, place it where it will *not* cast unwanted shade over your premium vegetable beds during peak growing hours. Remember, grouping plants based on their shared needs for light and moisture also makes regular maintenance and targeted watering much simpler!
Active Ways to Create or Modify Microclimates
So, you’ve mapped your property, and you realize the western exposure gets completely hammered by late-afternoon sun, or perhaps the shaded northern corner is a perpetual chilly wind tunnel. Don’t worry! We have excellent, practical ways to actively modify microclimates.
Earthworks: Simple techniques like building shallow berms (mounds) or swales (shallow ditches) can dramatically change how water moves across your land. These stable features help moderate soil temperature and retain crucial moisture, leading to more consistent growing zones beneath them.
- Wind Protection: Install strategic shelterbelts of trees or place fences to serve as effective windbreaks. This practice significantly reduces moisture evaporation and protects delicate plantings from drying, aggressive winds.
- Thermal Buffering: Incorporate materials rich in thermal mass—think a south-facing stone retaining wall or a dark-colored water feature—to absorb warmth during the day and radiate gentle heat when the temperature plummets at night.
- Cooling and Humidity Management: Strategic placement of high shade trees or overhead pergolas creates welcome, cool shadows. Heavily mulching the soil surface and grouping moisture-loving plants together boosts local humidity when needed.
Addressing Regional Differences When You Map Sun and Wind
It’s important to pause here and highlight that your specific geography heavily influences microclimate strategy. The tools you use to map sun and wind remain constant, but the interpretation of those results shifts dramatically based on your local climate zone.
If you live in a very arid, high-desert environment, afternoon shade is the precious commodity you must conserve, and you’ll prioritize planting sensitive annuals on the eastern side of any structure. If you live in a wet, cool coastal area, the opposite is true; you’ll want to maximize solar gain everywhere possible, perhaps using a few thermal rock borders to raise your effective growing zone temperature.
Comparing Modification Techniques: What’s the Best ROI?
When you decide to make changes, it’s smart to compare the intensity of the effort versus the long-term reward. Constructing heavy-duty stone walls for thermal mass provides huge, reliable temperature buffering but requires a significant upfront investment of labor or cost.
Contrast that with planting a row of fast-growing shrubs to act as a temporary windbreak. That is a quicker, cheaper fix that offers immediate wind reduction, although you might need to replace those shrubs in about ten years. For most homeowners looking for fast improvements, combining heavy mulching, smart plant placement by light, and perhaps a small rock border offers the best blend of results and realistic effort.
Frequently Asked Questions About Site Microclimates
When is the best time to conduct observations to accurately map sun and wind?
You should document sun movement at least twice a year: once near the summer solstice (longest days) and once near the winter solstice (shortest days). This captures the extreme boundaries of light availability needed for accurate solar path mapping.
How often should I update a sun map for accurate planning?
You should aim to update your map annually if you are tracking significant changes, such as major tree growth or the installation of new structures. For critical applications like optimizing solar panel placement, a quarterly or seasonal check-in can offer extra precision so your plan stays relevant.
Can microclimates really affect composting speed and quality?
Absolutely! Compost piles are living, breathing systems dependent on precise conditions. A cold, wind-swept spot will slow down decomposition tremendously. Conversely, a warm, sheltered microclimate that helps maintain optimal temperature and moisture levels will create high-quality, usable compost much faster.
Do roof gutters or drainage significantly alter microclimates near the house?
Yes, they can have a subtle but important effect near the home’s foundation. Poor drainage that leads to perpetually soggy soil creates a cooler, wetter microclimate right there, while excessive rainwater run-off can quickly dry out an adjacent soil zone, promoting drought stress in nearby plants.
Can portable structures like cold frames create reliable microclimates?
They certainly can! A cold frame acts like a miniature greenhouse right on the ground, reliably raising internal temperatures by several degrees—perfect for getting a big jump start on spring seedlings. Just remember to check where rainwater concentrates around the base of the frame when you are assessing local drainage.
Conclusion: Taking the Next Step in Microclimate Mastery
You now have the know-how to stop guessing and start intentionally designing your outdoor spaces! We’ve covered exactly how to map sun and wind to reveal those hidden pockets of warmth or cooling, essential for understanding your site microclimate.
The real key to seeing results is starting small. Don’t feel pressured to overhaul the entire yard at once. Pick just one sunny spot that currently feels too hot, and try adding a strategically placed shade cloth or planting a taller shrub to create some needed afternoon relief. Then, observe the difference it makes!
By matching your plant needs to the precise available light and using simple, proven methods to modify microclimates, you are moving toward a garden and yard that works beautifully *with* nature, not against it. Happy optimizing!


