


Welcome! If you’re growing vegetables in a raised bed, you know how satisfying it is—but you also know the garden drama that comes with it. That beautiful, rich soil is calling out to every pest in the neighborhood! Our goal today is to turn you into a fantastic detective so you can quickly master raised bed pest control using methods that keep your garden friendly to the planet.
We aren’t aiming for a chemical war zone here; we’re focusing on organic pest control for raised beds. This means learning the clues pests leave behind, knowing exactly when and where to look, and applying treatments smarter, not harder. Let’s dig in!
Quick Signs: Match Damage to Likely Pests
How do you tell what nibbled your prize lettuce first? Was it a sneaky snail, a determined beetle, or perhaps a midnight caterpillar raid? The key to identifying pests in raised beds is playing detective and matching the damage pattern to the culprit.
If you spot irregular holes paired with shiny slime trails, you’ve found your mollusks—slugs and snails are famous for leaving behind that telltale mucus. On the other hand, large, ragged holes often mean beetles, grasshoppers, or earwigs have been dining al fresco.
Caterpillars are often the messiest eaters, usually skeletonizing your leaves—they eat the tissue between the veins, leaving behind a lacy look, often accompanied by little piles of droppings called ‘frass.’ Conversely, those clean, semi-circular cuts around the edges of leaves? That might actually be leaf-cutting bees, which are generally beneficial, so we tolerate them unless the damage gets extreme.
One crucial tip: damage often appears after dark. Slugs, snails, and certain beetles are nocturnal grazers. If you only check your beds in bright midday sun, you’re missing half the evidence!
Night and Day Checks: Where to Look First
When should you inspect your beds? Both day and night offer valuable intel on your raised garden bed pests. You need a routine that covers the predictable hotspots where these critters like to hide or feed.
For intense night scouting, arm yourself with a bright flashlight. We look low: under leaves, near the soil crown, and along the edges of your mulch. This is prime time for uncovering slugs, snails, and caterpillars actively munching. During the day, shift your focus to the tops of leaves, flower buds, and tender stems to spot evidence of aphids or webbing.
| Night Checks (Where to Look) | Day Checks (Where to Look) |
|---|---|
| Under leaves, soil surface | Tops of leaves, flowers |
| Mulch near stems, debris | Leaf margins, stems |
| Bed borders, crowns | Nearby plants, soil surface |
Keeping simple notes on where you see the most activity helps you spot patterns. Recognizing insect life stages—eggs, nymphs, and full-grown adults—is vital because you often want to target the vulnerable early stages.
Hands-On ID: Finding Eggs, Larvae, and Tracks
Eggs and larvae are the early warning system you don’t want to ignore! When you’re hunting for these quiet invaders, remember to get intimately acquainted with the undersides of your leaves.
Eggs cluster or sit singly on the underside of foliage. For instance, lacewing eggs often sit on tiny silken threads, while leaf miner eggs might look like tiny, elongated specks. Once they hatch, the larvae leave behind very distinct tracks.

Look beneath leaves, along stems, and inside pods — eggs and larvae leave telltale threads, specks, mines, holes, and frass.
Squiggly lines tunneling just under the leaf surface? That’s from serpentine leaf miners. Large, expanding holes near a cluster of droppings mean active caterpillar feeding. These signs, documented while scouting, guide your intervention.
- Check leaf undersides for clusters, single ovals, or translucent eggs that darken before hatching.
- Follow damage patterns: squiggly mines = leaf miners; expanding holes = caterpillars; frass = active feeders.
- Inspect soil and pod interiors for dropped or burrowing larvae.
Acting early is your friend. By preserving beneficial larvae, like those of ground beetles or ladybugs, you build an in-house defense team. Adult lacewings, for example, are attracted to nectar and pollen, making companion planting a fantastic strategy.
Addressing Common Raised Bed Pests: Aphids and Caterpillars
Since we are building an authoritative guide, we need to specifically talk about two major raised bed inhabitants often overlooked: aphids and caterpillars.
Aphid Control in Raised Beds: Aphids are tiny, pear-shaped insects that cluster on new growth. They suck the sap out of plants, causing curling and sticky residue (honeydew). To combat them, first blast the heavy clusters off with a strong jet of water from your hose—aim for the early morning so the leaves dry quickly. If they persist, use an insecticidal soap, hitting the underside of the leaves where they cluster. Better yet, invite ladybugs! Ladybugs and their larvae have an insatiable appetite for aphids; check local garden centers for releases.
Caterpillar Management: Caterpillars—the larval stage of moths and butterflies—can defoliate a bed overnight. Look for them late in the day or early morning. The gold standard for organic raised bed pest control against most caterpillars is Bt (Bacillus thuringiensis) spray. This is a naturally occurring soil bacterium that only harms the caterpillars that eat it, leaving beneficial bugs and pollinators totally unharmed. Apply Bt (Bacillus thuringiensis) spray late in the evening when pollinators aren’t active.
Simple DIY Controls for Common Culprits
Before reaching for anything stronger, let’s utilize those low-tech fixes. You can manage slugs and snails effectively with simple traps. Set shallow containers—I prefer repurposing yogurt cups—baited with beer or a yeast/flour dough. Place these traps overnight in damp, shady spots near vulnerable plants and empty them every morning. You’ll be surprised how many you collect!
For small outbreaks of beetles or caterpillars, handpicking is the fastest, lowest-impact solution. Go out at dusk or dawn with a flashlight, wear gloves if you prefer, and drop offenders directly into a bucket of soapy water. It’s surprisingly therapeutic!
Slug and Snail Traps: Making Better Bait
When setting out those slug and snail traps, remember that the goal is attracting them, not just drowning them. While beer works, some gardeners find nonalcoholic yeast-flour dough more effective and less likely to have negative side effects on your soil microbes or surrounding wildlife.
- Place your bait in the container, burying it halfway into the soil so the top lip sits just above the soil line.
- Cut small entry slits about 1-2 cm above the base so slugs can easily slide in.
- Check daily; empty out the contents and refresh the bait weekly to keep it appealing and moist.
Simple, inexpensive floating row covers are also amazing barriers. They block flying insects from laying eggs on your best crops, which drastically reduces future pressure. Just make sure to secure the edges well or pests will just sneak underneath!
Handpicking and Removal Strategy
The key to successful handpicking is timing and consistency. You need to interrupt their feeding and breeding cycles before they get established.
| Pest | Best Time | Disposal Method |
|---|---|---|
| Caterpillars | Morning | Crush or place in soapy water |
| Beetles | Day (handpick what you see) | Handpick/disturb habitat |
| Earwigs | Night | Trap under damp shelter (like a rolled newspaper) |
| Cutworms | Night | Check stem base near soil line |
Always remove diseased tissue immediately and destroy any pests you collect. Don’t toss them on your compost pile unless it’s extremely hot, as they might just hatch again!
Row Covers and Barriers
While row covers are fantastic physical deterrents, they require some management. They are especially effective early in the season to protect tender seedlings from flea beetles or cabbage moths. The key takeaway here is diligence: you must scout under the covers weekly.
If an infestation starts under a cover, it can multiply rapidly since natural predators can’t get in to help. Also, remember to remove covers completely when your crops need pollination, like when squash or cucumbers start flowering.
⚠️ Affiliate Disclosure
This post contains affiliate links, meaning I may earn a commission if you make a purchase through these links, at no additional cost to you. As an Amazon Associate, I earn from qualifying purchases. I only recommend products I genuinely believe will add value.
Planting and Bed Practices That Reduce Pests (IPM Foundation)
True long-term raised bed pest control relies on creating an environment so healthy that pests don’t want to settle in. This is the foundation of Integrated Pest Management (IPM).
Start with your soil structure. Raised beds should have wonderful, loamy, well-drained soil. Strong roots equal strong plants that naturally resist damage. A crucial, non-negotiable step is practicing crop rotation; never plant vegetables from the same family (like tomatoes, potatoes, and peppers) in the exact same spot year after year. This breaks pest life cycles that overwinter in the soil.
Think about companion planting to deter pests. Planting strongly scented herbs like basil or marigolds near sensitive vegetables can confuse pests. For soil surface control, apply a layer of mulch for slug control (like sharp, dry diatomaceous earth, or use straw sparingly) but always keep it pulled back a few inches from the main stem to prevent creating damp hiding spots.
When Should I Apply Neem Oil or Bt to Raised-Bed Vegetables?
This is where many new gardeners miss the mark—they spray broad-spectrum when they should be spraying surgically. If you need an organic treatment, timing is everything to ensure you hit the target pest while sparing your flying helpers.
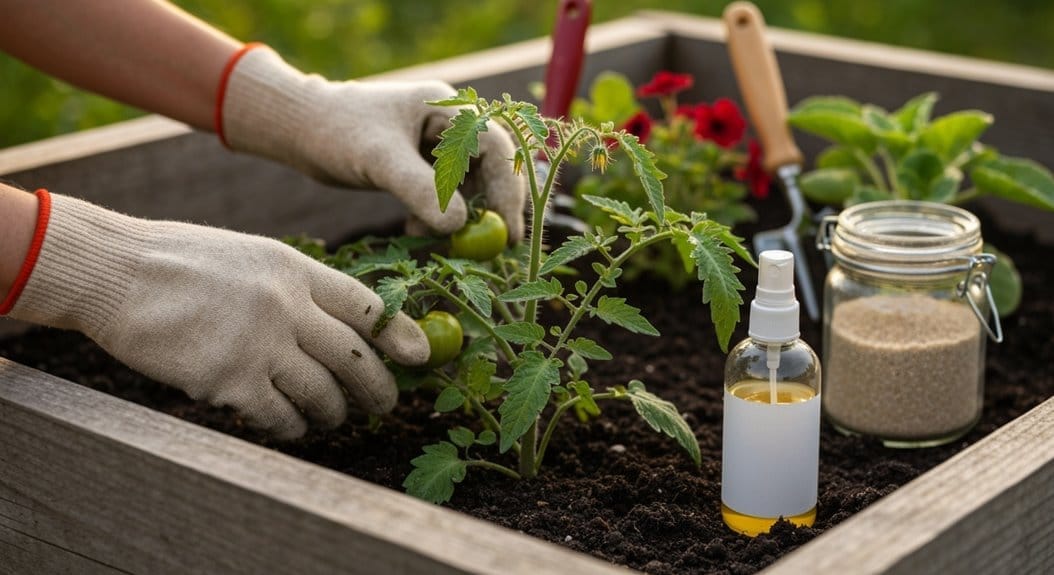
The best time for any contact spray—like insecticidal soap or an application of neem oil for garden pests—is early morning or late evening. Why? Because that’s when pollinators, like bees, are least active. Applying sprays during hot midday hours can burn leaves and is disastrous for beneficial insects collecting nectar.
You’ve prepped well—now time treatments wisely: monitor, target larvae at dawn/dusk, and avoid harming beneficials.
- Apply treatments only when you spot escalating populations; target larvae or newly hatched stages for maximum efficacy.
- Use products like neem oil, Bt (Bacillus thuringiensis) spray, or spinosad precisely where the pests are visible. If you see a specific clump of aphids, treat just that clump.
- If a hard-hitting spray is necessary, time it for dusk immediately after you’ve seen the last of the bees heading home for the night.
An Integrated Pest Management (IPM) Calendar Snapshot
To provide a proactive plan, always keep a simple schedule in mind. This helps capture those long-tail queries about when to act.
- Early Spring (March/April): Scout diligently for overwintering pests near the soil line, like cutworms. Apply row covers *before* pests arrive.
- Late Spring (May/June): Look for chewing damage; this is often the prime time to start early, targeted treatments of Bt (Bacillus thuringiensis) spray for newly hatched caterpillars.
- Mid-Summer (July/August): Monitor closely for sucking insects like aphids. Introduce or encourage beneficial insects in raised beds, such as ladybugs.
- Late Summer/Fall: Prepare for the final push from slugs and snails as temperatures cool. Focus on cleanup and apply barrier methods like diatomaceous earth around susceptible plants.
Frequently Asked Questions
What is the best organic trap for slugs and snails in raised beds?
The best trap is often the simplest: a shallow container (like a recycled tuna can or yogurt cup) sunk so the rim is just above the soil line, baited with shallow beer or a yeast-and-flour dough. Check and empty these traps every morning for consistent slug control.
When should I apply neem oil or Bt to raised-bed vegetables?
You should apply neem oil or Bt (Bacillus thuringiensis) spray in the late evening or at dawn. This timing avoids contact with pollinators like bees who are most active during the heat of the day. Always target the infestation when you see it, usually against larvae first.
How do I know how to identify pests in raised garden beds if I am a beginner?
As a beginner, focus on the damage first. Look for slime trails = slugs; skeletonized leaves = caterpillars; and ragged holes = beetles. Always use your flashlight at dusk to watch the pests in action—seeing them feed is the fastest way to learn!
Should I use companion planting to deter pests?
Absolutely! Companion planting to deter pests is a key part of IPM. Strong-smelling herbs and flowers like basil, dill, or marigolds can mask the scent of your vegetables, confusing pests. Also, planting flowers attracts beneficial insects.
What do I do if common pests like aphids show up in my raised beds?
If you spot an aphid infestation, first try a strong stream of water early in the morning to knock them off. If they return, spot-treat clustered areas with insecticidal soap. If you have lots of ladybugs or lacewings around, you can often wait a day or two and let your beneficial insects in raised beds handle the population control for you.
Conclusion
Mastering raised bed pest control isn’t about luck; it’s about routine observation. Keep up those dawn and dusk checks, lift those leaves, and match the damage to the culprit. Remember, low-tech solutions like handpicking and traps are incredibly effective for initial management.
When organic treatments like neem oil or Bt are needed, use them precisely and time them to protect those crucial pollinators. By focusing on great soil health and pest pressure reduction through rotation and smart planting, you create resilient raised gardens that naturally fight back. Happy growing!


