


So, you’re ready to dive into the wonderful world of raised bed gardening! That’s fantastic. Whether you’re trying to maximize a tiny city balcony or organize a sunny spot in your backyard, raised beds are truly game-changers for any space.
They give us complete control over the soil, dramatically improve your raised bed drainage, and honestly, they just look wonderfully tidy. But building a successful garden bed isn’t just about nailing some wood together. It’s about creating the perfect, custom ecosystem from the ground up.
Think of this comprehensive guide as your friendly, step-by-step road map to setting up raised beds that will produce bumper crops for years to come. We’re covering everything you need to know for truly successful raised bed gardening, right down to those tricky maintenance details!
Your Blueprint for Easy Raised Bed Gardening Success
- Aim for a raised bed width between 3 and 4 feet so you can easily reach the center without stepping on (and compacting!) that beautiful soil.
- Depth should be at least 12 inches for most vegetables; going deeper, like 18 inches, works wonders for deep-rooting crops like carrots.
- Always start with site preparation: clear turf, level the area, and remove large debris before the frame goes down.
- Incorporate essential layers: a 1-2 inch gravel base or coarse material for drainage, topped with landscape fabric or cardboard for initial weed suppression.
- The golden ratio for the best soil mix for raised beds is roughly 40% topsoil, 40% compost, and 20% coarse sand (we’ll detail that raised bed soil mix 40‑40‑20 recipe below!).
Designing Your Ideal Raised Bed: Dimensions and Calculating Soil Volume
When planning your garden bed dimensions, accessibility truly wins. We strongly recommend keeping your raised bed width between 3 and 4 feet. Why this specific range? Because you need to be able to reach the middle plants comfortably without leaning awkwardly.
More importantly, you definitely want to avoid stepping directly into your carefully prepared soil. Stepping on it compacts it, and trust me, we absolutely want to preserve those gorgeous air pockets that help roots breathe and water move through!
If you are placing the bed against a sunny wall, keep the width slightly narrower, perhaps 2 to 3 feet, so you can still reach everything comfortably from one side. For length, 6 to 12 feet is often practical, as it lines up nicely with standard lumber sizes. This alignment can save you a surprising amount of cash on materials.
Depth is crucial for root development, too. A great general depth is between 12 to 18 inches deep for most mixed vegetables. If you’re wondering, how deep should a raised garden bed be for carrots? Aim high! Going to 18 inches or even 24 inches works wonders if you plan on growing deep root veggies like carrots or parsnips.
Now for the simple math—don’t sweat it! To get your soil volume calculation, just multiply the length × width × depth—making sure everything is measured in feet—to find the total cubic feet you need. For example, a common 4×8 foot bed that is 1 foot deep needs 32 cubic feet of material. A little planning goes a long way in avoiding last-minute store runs!
Also, remember to leave 18 to 24 inches between beds for pathways so you can move around easily when tending your plants or setting up that new drip irrigation system.
How to Prepare Base Layer Site Preparation Steps
You’ve picked your size and the perfect sunny spot—excellent work! But before you start hauling in those expensive bags of growing medium, we need to prepare the canvas underneath. A level, weed-free base ensures your structure sits straight, drains perfectly, and won’t become that lopsided gardening headache we all dread.
Start by clearing the area of any existing sod, turf, or persistent weeds. Cut the grass very low where the frame will sit, and use a shovel to dig out the perimeter. Work to pull out any lingering roots or any large stones you find.
The main goal here is achieving a flat footprint. Use a long garden rake and a 4-foot level to check for levelness across the entire area. If the ground slopes gently, just adjust the frame contact points underneath slightly to compensate. We want the frame to sit perfectly plumb (straight up and down).
This preparation phase is also ideal for dealing with underlying soil compaction. Loosening the native soil just a bit—maybe 6 inches down—will greatly aid overall raised bed drainage right where the bed meets the earth. Once you are satisfied with the flat surface, use old newspapers or overlapping sheets of cardboard to mark the perimeter clearly before setting down the frame.
Building the Essential Base Layer for Drainage: Gravel and Fabric

A robust, coarse base layer is absolutely non-negotiable for achieving great raised bed drainage. This layer stops excess water from pooling around the root zone, which is the fastest way to bring on root rot. Nobody wants mushy, waterlogged vegetable toes!
Start this layer by spreading 1 to 2 inches of drainage material evenly inside your frame. Clean crushed rock or 3/4-inch smooth material (often called a gravel base for raised beds) is perfect for this purpose. Make sure this coverage is even across the entire footprint.
Next, we need separation to keep things clean and efficient. Place a layer of high-quality landscape fabric directly on top of the gravel. This prevents your premium soil from migrating down into the rocks, which would eventually clog up those vital drainage pathways over time.
If you have very persistent lawn weeds or grass trying to push up from below, laying down overlapping sheets of cardboard beneath the fabric is a fantastic initial step for long-term weed suppression. It breaks down nicely over time, feeding the soil as it goes.
Smart Filling: Mid-Layers of Organic Matter to Save Money
If your bed is quite deep—say, over 15 inches—filling the entire volume with expensive bagged potting mix will drain your wallet dry, fast! This is where we get strategic and utilize bulky organic matter effectively. This decomposing layer should make up roughly one-third of your total bed depth.
This decomposing layer acts like a slow-release nutrient bank over several seasons. You can safely incorporate things like well-rotted manure, straw, grass clippings (always verify they haven’t been treated with herbicides!), or partially broken-down leaves from your yard.
Crucially, make sure these amendments look mostly broken down; fresh amendments can sometimes burn tender roots when they rapidly decompose. Don’t just layer this stuff like lasagna! The key is gentle integration.
Lightly mix these coarser amendments into the bottom third of your growing area, blending them slightly with whatever base material you used. This encourages deeper root penetration and maintains great soil aeration for years.
For those focused on budget raised‑bed materials, this “Hugelkultur-light” method is essential. It vastly reduces the amount of expensive topsoil you must purchase.
Top With High-Quality Soil: Final Planting Prep & pH Testing
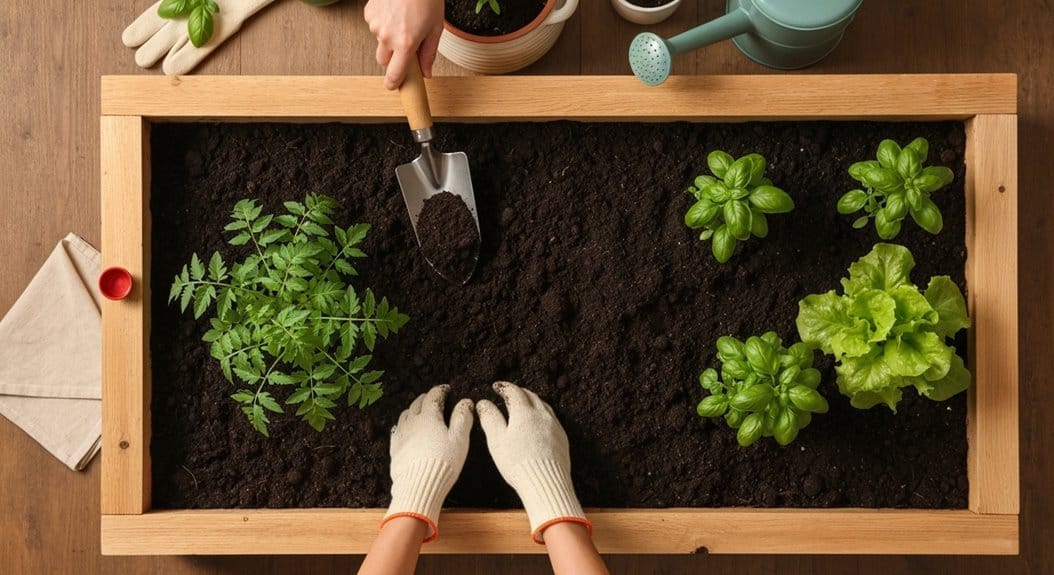
This final layer is your plant’s main dining room, so the quality definitely matters! The universally praised best soil mix for raised beds for vegetables is generally that precise raised bed soil mix 40‑40‑20 ratio: about 40% fine, screened topsoil, 40% high-quality bagged compost (a wonderful compost amendment!), and 20% coarse sand for texture and drainage insurance.
Fill your bed with this amazing blend and gently level the mix. Lightly compress it, but please, don’t stomp it down! You want plenty of air pockets for roots to thrive.
Before you plant, grab a quick kit for soil pH testing or send a sample out professionally. Most delicious vegetables prefer a reading between 6.0 and 7.0 (slightly acidic to neutral). Knowing your starting soil pH testing results now means you can adjust it based on what you plan to grow.
Leave about 2 to 3 inches of empty space between the top surface of the soil and the rim of your container. This space acts as a crucial buffer, preventing soil and nutrients from washing out the sides when you water deeply.
Once filled, give the entire bed a thorough, gentle watering to help all those ingredients integrate. After placing your seedlings, immediately apply a generous 2-inch layer of organic mulch, perhaps using straw or wood chips. Honestly, mulch is your best friend for slashing water loss and minimizing weeding!
Budget-Friendly Raised Bed Materials and Recycled Options
Building raised beds can sometimes feel expensive, especially if you’re aiming for those large, deep designs. But don’t worry; there are plenty of material alternatives to get started, even if you only have a small initial budget for your setup.
For those wanting longevity, cedar is the gold standard because it is naturally rot-resistant, though the upfront cost is higher. Untreated pine or fir works fine as a budget choice, but be prepared to replace those boards in 5 to 8 years.
Beyond standard lumber, many eco-conscious builders look for ways on how to build a raised garden bed using recycled items. Have you considered using recycled pallets? Pallet beds are incredibly popular for urban gardeners looking for low-cost, modular solutions. Just ensure any pallets marked ‘HT’ (Heat Treated) are used, and avoid ‘MB’ (Methyl Bromide treated) wood entirely.
Concrete cinder blocks are long-lasting and easy to stack, though they don’t offer the same warm aesthetic. Also, corrugated metal siding attached to simple lumber frames is lightweight and reflects heat away from the soil, which can be great in very hot climates.
Maintenance: Watering Consistency and Organic Fertilizer Schedule
Consistency is truly everything in gardening, and one key difference is that raised beds dry out faster than in-ground plots—especially those taller structures we love. Developing a predictable raised bed watering schedule for beginners is therefore essential for avoiding plant stress.
My rule of thumb is to skip the daily little sprinkle! Deep, infrequent watering encourages plants to send their roots down further, making them stronger and more resilient. In the heat of mid-summer, you might find you water every 2–3 days instead of daily.
Stick your finger about 2 inches into the soil; if it feels dry at that depth, it’s time to water thoroughly until you see moisture just starting to seep into the lower drainage layer. Hands down, the best efficiency upgrade you can make is installing a simple drip irrigation system.
Now, let’s talk about feeding them. While the initial soil mix is great, you need a raised bed fertilizer schedule – organic vs synthetic. The easiest organic boost year-round is a yearly top dressing. Each spring, add a 1-inch layer of fresh compost right on top of the mulch line to feed the topsoil slowly.
If you see signs of nutrient drain mid-season (yellowing leaves, slower growth), supplement with an organic liquid feed, like fish emulsion or seaweed extract. These provide immediate boosts until the next scheduled compost amendment arrives.
Troubleshooting Common Raised Bed Issues
Even with perfect planning, sometimes things don’t behave exactly as expected. Drainage issues are often the number one culprit we see pop up in raised beds, but we also need to think about yearly feeding.
Ponding or Excess Moisture
If water sits on the surface for an hour or more after a heavy rain, your underlying drainage layer probably needs inspection, or the native soil beneath is severely compacted. You might need to carefully check if that gravel base for raised beds is adequate and clean beneath your landscape fabric.
Soil Settling Too Fast
If the soil level drops dramatically more than 3 or 4 inches in the first year, it usually means your organic amendments (like fresh leaves or straw) were too dominant or too fresh. Some settling is natural as they break down, but if it’s dramatic, make sure to top up next season with more mineral soil (a topsoil/sand mix), rather than just more fluffy compost.
Nutrient Leaching Mid-Season
If plants start out vibrant but fade drastically by mid-summer, nutrients are likely washing out due to overwatering or overly sandy soil. This is a prime example of where that drip irrigation system pays for itself by delivering precise amounts of water. If you notice this frequently, perform immediate soil pH testing to see if acidity is affecting nutrient uptake.
Frequently Asked Questions: Quick Answers for Raised Bed Gardening
What’s the easiest way to prevent pests in a raised garden bed? (Voice Search Ready)
The single best defense against burrowing critters like gophers or voles is creating a physical underground barrier. Before you even set your frame onto the ground, staple a layer of 1/4-inch galvanized hardware cloth pest barrier across the entire bottom footprint. Criss-cross the edges and secure it tightly to the frame walls to stop surface pests from sneaking in the sides, too!
How deep should a raised garden bed be for carrots?
For carrots, you need ample space for the roots to grow long and straight without hitting resistance. While 12 inches is the minimum for most vegetables, we recommend at least 16 to 18 inches deep for optimal carrot production. If you use a shallower bed, consider planting shorter, rounder varieties.
What is the best watering schedule for raised beds during a heatwave?
During high heat, don’t just mist the surface daily, as this encourages shallow roots. Instead, check the soil 2 inches down. If it’s dry, water deeply until moisture starts weeping near the bottom. Many gardeners find that installing drip irrigation on a timer every 1-2 days during peak summer is the most reliable strategy.
How do I handle my raised bed in the winter?
To prepare for the cold, add a fresh 2-4 inch layer of protective mulch—shredded leaves or straw work perfectly—over the soil surface right after your final harvest. This practice, known as raised‑bed winter mulching, protects the soil structure from harsh freeze-thaw cycles and feeds micro-organisms. If you are overwintering tender greens, cover them loosely using frost blankets supported by hoops attached to the frame.
Should I consider installing grow lights for my raised bed if I have limited sunlight?
Yes, absolutely, especially for urban or balcony growers. If you are missing those essential 6+ hours of direct sun, investing in a good **raised bed lighting** setup using full-spectrum LED grow lights can extend your season significantly or allow you to grow leafy greens year-round. Position lights just a few feet above the crop canopy for best results.
Conclusion: Putting It All Together for Your Best Raised Bed Gardening Season
We’ve walked through the entire setup process together—from planning the perfect raised bed dimensions and calculating materials, to layering foundations for superior raised bed drainage and nutrition. You now understand the importance of that coarse base layer, the magic of the 40/40/20 topsoil blend, and how to implement smart maintenance using tools like drip irrigation.
By successfully following these fundamental raised bed gardening instructions, you have essentially created an optimal growing environment that completely bypasses the common frustrations of native soil quality. If you want to know what to plant in a raised bed in zone 6, use this structure as your starting point!
Trust the structure we’ve laid out here, but never be afraid to tweak it based on what you see happening right there in your own garden. Now, go get planting and enjoy the harvest!


